


File download (.blend Blender file): download link
Details about file:
Physical principle: This file illustrates an archetypal optomechanical resonator cavity, consisting of a Fabry-Perot cavity with fixed and free end-mirrors (left and right). Light confined inside the cavity exerts a radiation-pressure force on the movable mirror, deflecting its position; this in turn back-acts on the intra-cavity field by shifting the cavity’s optical resonance frequency. It is this mutual coupling between light and mechanics, enabling energy exchange, which is at the heart of cavity optomechanics. Citation for this work: “On-chip nano-optomechanical whispering gallery resonators”, C. Baker, PhD thesis, Université Paris-Diderot – Paris VII, 2013.
Rendering details:
This file is fairly simple, with only a few elements. The spring linking the right movable mirror to the post is made with the blender ‘screw modifier’, see e.g. this Youtube video for a tutorial (link). The laser is the trickiest part to get right. The nodes of the standing optical wave are generated by creating a number of concentric subdivided circles (‘edit mode’, then ‘subdivide’ to increase the number of vertices). The circles are then copied and rotated by 90 degrees in order to create a fuller, volume-like effect. See illustration below:


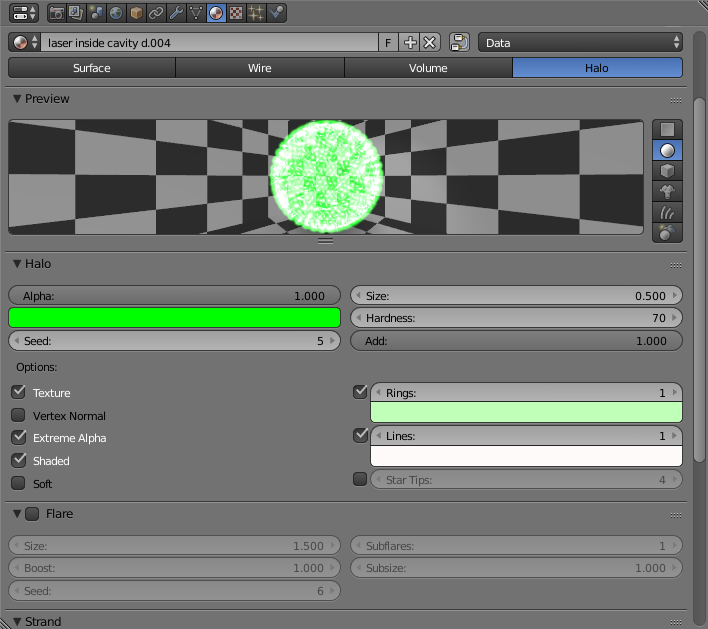
The circles are then given the ‘Halo’ material, to create a glowing laser radiation type-effect. The field intensity enhancement inside the Fabry-Perot cavity is obtained by adding lighter color rings and lines inside the Halo.
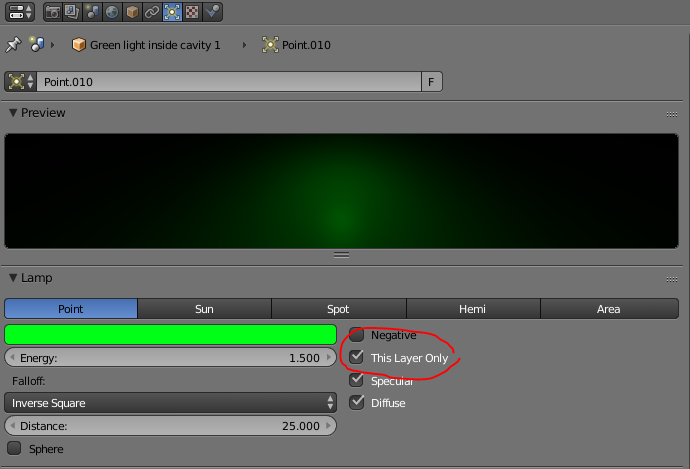
Since the ‘Halo’ material does not actually emit light, some green point lamp sources are added inside the laser nodes in order to get the green glow on the ground below the laser beam. In order for these lamps to light up only the ground plane, and not give the whole scene a green tinge, the lamps are located along with the ground plane on a separate layer (layer 3), and the lamps have the ‘This Layer Only’ box checked, as shown below. (This means the lamps illuminate only the objects they share a layer with).
Finally, the same file can be used to generate the Fabry-Perot cavity with and without laser, by selecting the layers to be rendered, as shown below:

layer 1: cavity without laser
layers 2+3: cavity with laser (select both layers simultaneously by using Shift+Left mouse button). Scene 3 contains just the green light sources and the ground plane, as discussed above.
Keywords: creating a laser beam with blender 3D, Fabry-Perot cavity, optomechanics, 3D rendering.
