


File download (.blend Blender file): download link (0.1 MB)
Details about file:
Reference for this work: “High-frequency nano-optomechanical disk resonators in liquids,” E. Gil-Santos, C. Baker, D.-T. Nguyen, W. Hease, C. Gomez, A. Lemaitre, S. Ducci, G. Leo, and I. Favero, Nature Nanotechnology, vol. 10, pp. 810–816, Sept. 2015.
Rendering details:
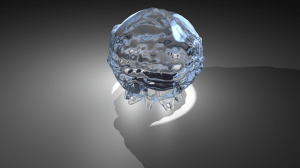
The goal of this model is to generate realistic looking liquids/fluids in blender. Water has high transparency and a higher refractive index (n=~1.33) than air (n~1), which is responsible for refraction effects (bending of light rays at the fluid/air interface). This is one the characteristics one associates with liquids, but also with transparent materials such as glass and ice.

The issue is that a perfectly smooth volume of water is essentially visually indistinguishable from that same volume made out of glass with the same index of refraction. Which means that if one simply draws an ideal geometric object such as a sphere or cylinder, and gives it the optical attributes of water (transparency, index of refraction, …) it will, because of its ideal shape, tend to look more like glass than water.
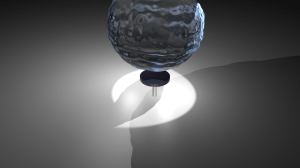
In order to get a convincing water feel, we need to add features which are unique to liquids, such as ripples, waves and splashing.
Creating the turbulent surface of water in motion can be tedious, and difficult to create accurately. Fortunately, Blender comes with a powerful built-in fluid physics engine, which allows us to easily obtain realistic looking water surfaces, as described below.
Step by step instructions:
Upon opening the file, only a rectangular box is visible. This is the fluid simulation domain (to be detailed in the following). Elements inside the simulation domain can be viewed and selected by restricting the box’s ‘viewport visibility’ (as shown below).


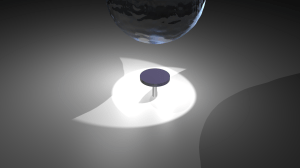
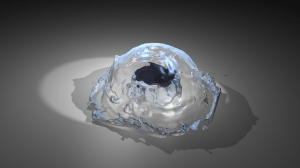
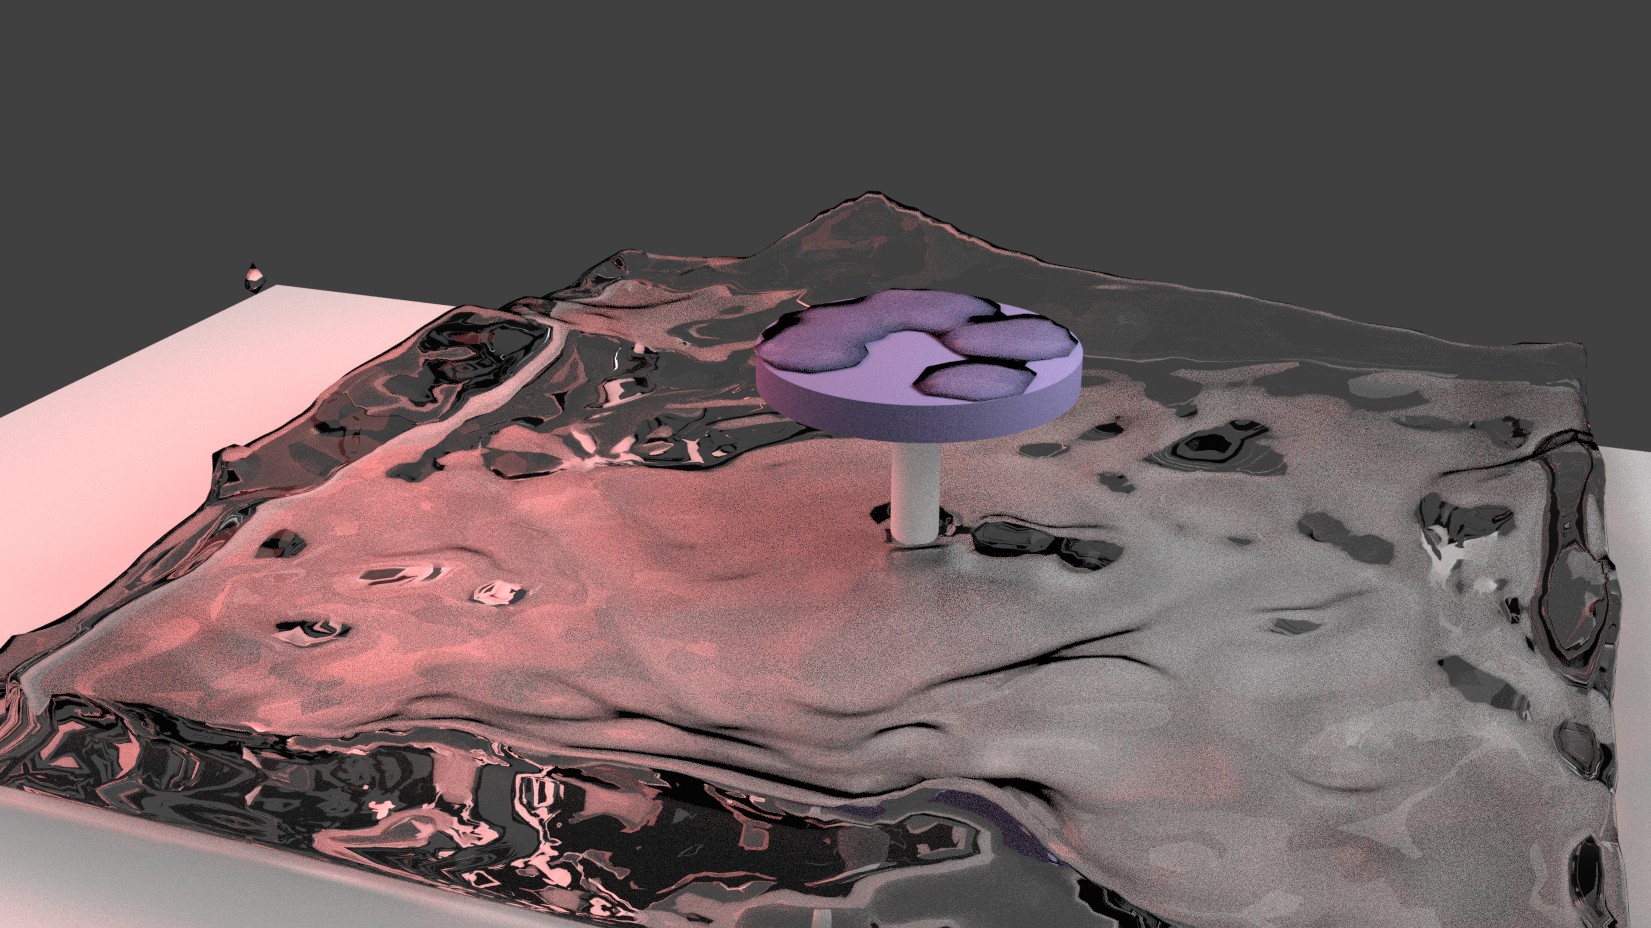
The simulation domain represents the volume inside which the fluid physics simulation will be run. Three elements are present inside the simulation domain: the disk and its pedestal, and a droplet of water to be dropped on the disk in order to generate a ‘splash’ effect. These four elements (simulation domain, disk, pedestal and droplet) must have the appropriate fluid physics settings selected before running the simulation as shown in the screenshots below. Select the water droplet, go under the ‘physics’ tab, add the ‘Fluid’ physics modifier, and select the type ‘Fluid’, and ‘Volume’ under ‘Volume initialization’. (This means the sphere will be considered as a filled volume of fluid –by opposition to a hollow sphere with the ‘Shell’ setting). Similarly, both the disk and the pedestal must be set as ‘Obstacles’ in the fluid simulation, in order for the fluid to flow around these and not freely through them. Finally, the simulation domain is where the physics for the simulation is set. After selecting ‘Fluid’ physics, set the type as ‘Domain’. The ‘Resolution’ setting defines how densely the simulation domain is subdivided along X, Y and Z for the physics simulation. Higher values correspond to a finer mesh, providing more realistic results at the cost of longer computation times and increased memory requirements. (Note how increasing the resolution increase the required memory displayed on the “Bake” button). The simulation time is also set here; Start and End values selected here mean here that the simulation will cover 4 seconds of real time. Note that all these settings are already in place in the file, such that starting the simulation can be done immediately, as described below.


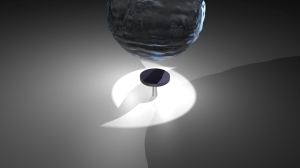
Clicking the ‘Bake’ button in the simulation domain (as shown in the screenshot) will start the physics simulation. Progress can be monitored in the progress bar on top of the screen (see below). Simulation times are typically a few minutes with the current settings, but can get significantly longer with higher resolution. While the simulation is running, already computed frames can be displayed through the frame selector at the bottom of the window (see screenshots below).


When one has found a satisfactory looking result by sifting through the frames, it can be rendered as a regular scene by hitting F12. If one wants to save a certain calculated frame, and edit the liquid geometry directly in ‘edit mode’ (Tab), the Fluidsim modifier has to be applied under the modifier tab, as shown below. Note that once this has been done, all other calculated frames are no longer accessible through the frame selector.
Alternatively, one can also make a video of the liquid simulation, instead of rendering a single frame. This is done with the ‘animation’ button, as shown below. This will render all frames from the ‘Start frame’ to the ‘End Frame’ and concatenate these in a e.g AVI video file. Note that in order for the animation to not appear choppy, it needs to have a large frame rate, e.g. close to a 24 fps (frame per second) video rate. This means a 4 second video requires 96 individual frames, which quickly takes long to render !
Note that currently the frame rendering range is set from 1 to 26 (which means that the 4 second long fluid simulation is subdivided into 26 discrete steps approximately 15 milliseconds apart (4/26). Changing the frame range by changing the ‘End’ frame number, as shown below, keeps the total simulation time constant (4 s) but changes the time increment between each frame.


This same approach also works with the ‘cycles’ rendering engine, a more accurate ray-tracing rendering engine built in Blender (more info). File for cycles render available below.
Keywords: Cavity optomechanics, GaAs optomechanical resonator, WGM resonator, fluids, optomechanics in liquids, optomechanics in water, biological sensing, rheology, nanofluidics, GHz resonators in liquids, viscous damping, acoustic damping, rendering liquids in Blender, Blender fluid simulation.
