
Mirror on Spring
File download (.blend Blender file): download link (0.1 MB)
Rendering details:
This model generates the animation of a mirror oscillating on a spring shown above. This mirror on a spring forms one half of the archetypal cavity optomechanical resonator consisting of a Fabry-Perot cavity with one fixed and one free end mirror (see below). The static model of this optomechanical resonator can be found here, along with a short description.

We start with a simplified model containing just a mirror and a spring attached to a support block. The animation contains one full oscillation of the mirror-spring system (i.e. one expansion and one contraction), such that the end-point of the animation coincides with its starting point. This enables the animation to be smoothly looped in a .gif format as above.
We use keyframes to create the animation. The animation contains two steps: starting from its initial position, the mirror moves left while the spring expands. Once the maximal expansion has been reached, both spring and mirror return to their initial states. We first start by choosing the frame settings for the animation (see Frame settings screen-capture below). We choose a total of 61 frames, which, once animated at 24 frames per second, will generate a 61/24=~2.5 second long animation. Choosing these settings automatically updates the timeline and displays the frame range in a lighter shade of grey. The Frame step determines the number of frames which are skipped forward during rendering: a Frame step setting of 1 means that all 61 frames will be rendered as part of the animation, while a frame step of 20 means only frames 0; 20; 40 and 60 will be rendered. The animation will still be ~2.5s long, but will appear very choppy.
Next we need to move the mirror. Start by selecting ‘0’ as the current frame in the timeline at the bottom of the screen. Next select the mirror and add a keyframe defining its initial position. This can be done either through the Animation tab -> Keyframes: insert -> Location, or by going to the object tab, and right-clicking on the X location box and selecting Insert keyframes.


Next select frame 30 in the timeline (halfway through the animation). At this stage the mirror needs to have moved left by its maximal amount. Select the mirror and change its position by entering a new value in the X location box. Once this new position has been set, right-click on the X location box and add a new keyframe.
Finally, select the last frame of the animation (frame 60) as the current frame in the timeline, and set the same X location for the mirror as in frame 0. (This ensures the animation performs an entire cycle).
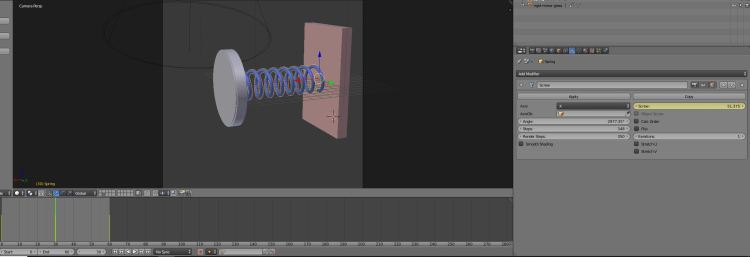
The results can be previewed by hitting the Play button in the timeline. The program automatically interpolates the intermediate positions of the mirror between the entered keyframes, such that the motion of the mirror appears continuous.
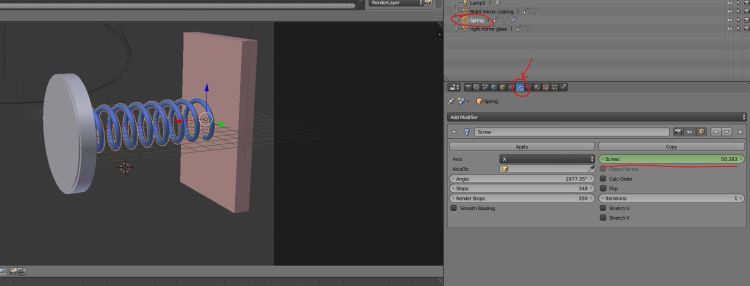
The spring also needs to be animated. In contrast to the mirror, the spring does not need to be translated left and right along the X axis, but needs to expand and contract while remaining fixed to the support block. This is achieved by employing keyframes as previously, but applied this time to the spring’s screw modifier (see below).


Finally, the output animation is generated by hitting the Animation button to render the active scene, while the type of output and its saved location are set in the Output tab, as shown below.

The keyframes are a powerful tool to rapidly create basic (and more advanced) animations, and can be applied to many features, such as the intensity of a light source or the color of an object. This could for instance be used to create the animation of a laser beam whose intensity varies in time.
Keywords: Optomechanics, cavity optomechanics, blender animation, Optomechanical resonator, radiation pressure, cavity detuning, photon momentum kick.
